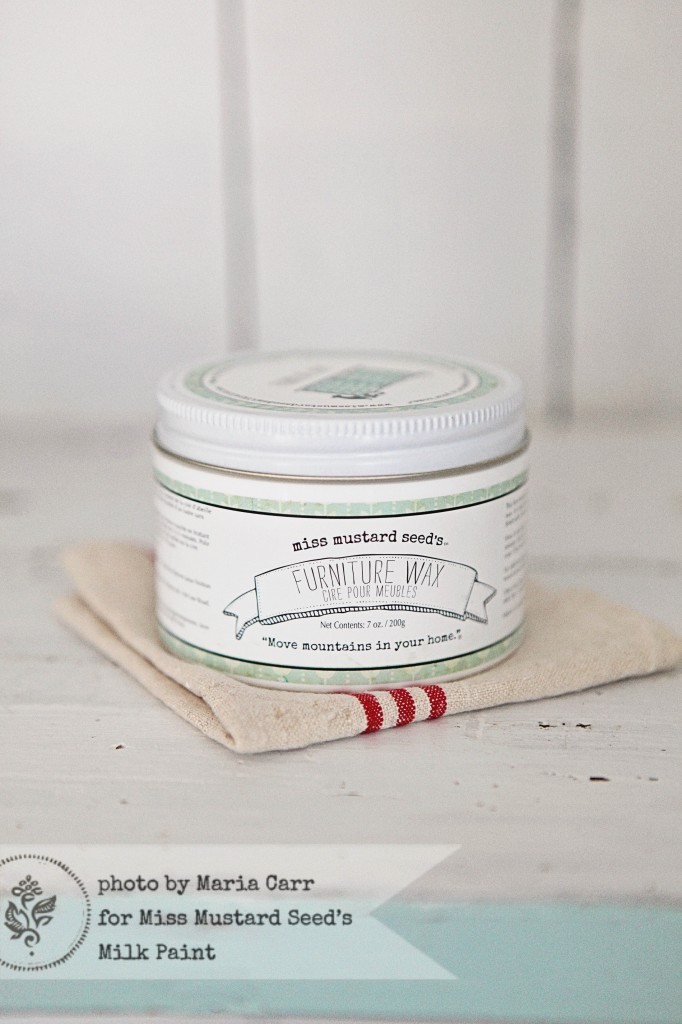
I love using both products for the top coat on painted pieces of furniture but this article sums it up. I found that I may have been using too much wax and hemp oil and learned great tips!!
This is a Great Article about Furniture Wax and Hemp oil from MissMustardSeed.com:
When to use it…
You can use it anytime you want to add a topcoat to a piece with a porous surface. You do notneed to use wax over a piece with a satin, semi-gloss, or gloss finish. Those paints can hold up fine on their own and any wax applied will just sit on top of the surface, not really serving a purpose. Applying wax to a porous surface like flat latex, flat acrylic, milk paint, raw wood, stained wood, etc. is key. It is absorbed into the pores of the surface, creating a hard and durable finish.
You can basically use any brand of wax over any brand of paint, so just figure out the combination that you like.
How to apply it…
Wax can be applied with a brush…
…or a cloth.
I know that wax brushes are all the rage (I’m coming out with one of my own in fact), but you don’t have to strictly use a wax brush to apply wax. These brushes are well suited to the task because they have natural bristles and a lot of them! They hold a lot of wax and are ideal for spreading it and getting it into the details of a piece. If you don’t have one of these brushes, though, you can use an old paint brush that has bushy bristles. That will do the trick. For a cloth, make sure it’s a lint-free cotton cloth.
With both types of applications, only apply a very thin layer of wax. I know, especially with the brushes, it’s easy to load the brush with a huge glob of wax, but that’s going to give you headaches. If your wax is smeary, smudgy, sticky to the touch, hazy, etc. you have applied too much. Massage the wax into the surface as you would apply lotion to your hands. This will also give you a nice and even finish.
The more coats of wax you apply and the more you buff it, the shinier it will get.
Drying time, durability & care…
Wax should feel dry to the touch just after it’s applied and rubbed into the surface. It’s okay if it feels slightly waxy or a little cold, but it shouldn’t feel sticky or wet. You can start using the piece right away, but give it a full 30 days to cure. During the cure time, just be gentle with it. For cleaning, I just dry dust it with a cloth or scrub it with a wet cloth for dried on yogurt, oatmeal and the like. The thing I love most about wax is that you can simply reapply it if a piece starts looking tired or gets scratched. Lightly sand it with some steel wool, apply another coat, buff it and you have a new finish in about 15 minutes. You can’t do that with poly!
The downsides to wax…
As I unfortunately learned one year at the Lucketts Antique Market, wax is sensitive to heat. Just like crayons left in a car, a wax finish will melt in intense sun or heat. For that reason, it’s not a good option to use on pieces if you sell them outside or are going to put them on a sun porch, etc. It’ll do fine with some sunshine on it through a window or sitting near a radiator, as long as it doesn’t get too hot. Keep this in mind if the piece will be stored in a truck or storage unit that isn’t climate controlled. This is true of all brands of waxes, by the way.
The other downside is that it does take some muscle to do all of the applying and buffing. I’ve gotten used to it, but it can be a lot on the biceps!
When to use it…
Hemp Oil can be used as a top coat and, like wax, is best on porous surfaces, so it can penetrate the surface instead of just hanging out on top. If you use Hemp Oil as a topcoat, that is all you need. You don’t have to put something else on top of it.
It is also awesome at reviving wood that is dried out, water damaged and has lost its luster. Again, the surface needs to be porous to work. It’s not going to do much for a poly finish that looks tired.
How to apply Hemp Oil…
For a while, I applied it with a cloth, but I have started using a brush in recent months. I feel like it’s a little faster and works the oil in a bit better, but a cloth will certainly do the trick and is probably better for large, flat surfaces. You just wipe it on, let it soak in and then wipe away the excess.
It can also be used to “wet sand” a piece. I just learned this technique at the retailer’s training in Baltimore and it rocked my world. Brush on some oil, then sand with some fine sand paper. Wipe away the excess oil with a cloth. You can either sand to smooth or sand to distress with this technique and the result is a buttery smooth finish.
Hemp Oil provides a matte, almost satin finish, but the level of sheen increases with each coat. I usually just apply one coat on the body of pieces and two coats on the tops for a little added durability. The key with Hemp Oil, though, is to only apply what the surface will absorb. If you apply too many coats, the oil will just sit on top. There’s no harm if that happens, but you have to wipe the excess oil away and it’s a bit of a waste.
Drying Time, Care & Durability…
Hemp oil dries to the touch very quickly, because it’s absorbed into the finish. In other terms, it’s sort of the difference between lotion (Hemp Oil & Wax) and nail polish (latex, acrylic, poly, etc.) While the oil is dry to the touch, it does need about 30 days to fully cure. You can use the piece during this period, but it might feel a little oily to the touch while it’s curing.
I care for it the same way I do the waxed pieces. Just a dry cloth for dusting and a damp cloth if something is being stubborn. If the finish looks tired or is marred, I just rub on another coat of Hemp Oil (and wet sanding would be a great idea here, too.)
The downsides to Hemp Oil…
I haven’t tried painting over a piece that has cured Hemp Oil on it, but I’m guessing that might be a little tricky. Some sanding and a bonding primer may be in order, but I’m not really sure. I’ll have to let you know when I try it or hear from someone who has.
The other downside, if it really is one, is that it doesn’t have anything added to it. It’s just oil, so it doesn’t have the “solids” and other things that make a finish feel hard to the touch. A Hemp Oil finish doesn’t feel as hard as a wax or poly finish, but it is working and is very durable. So, this isn’t really a negative, but something you need to expect and get used to.
So, which is better and which do you use when?
This is totally a preference thing. I use both and love both. I use Hemp Oil when I know a piece will be exposed to heat, so I don’t have to worry about melting. I use wax when I’m just in the mood to use wax! So, you’re really going to have to answer this question for yourself. You may find you prefer one over the other or you like something else entirely!
I hope explaining the differences will help you decide.